Monday, December 9, 2013

Solar System Studies - Model Solar System - Fall 2013

Our Classical Conversations group headed to a baseball field one day this fall to build a to scale model of our solar system. This was such a fabulous way to increase the kids understanding of the size of our solar system. Here's Reagan and one of her classmates caring the "sun" to the baseball field.
 Getting organized and beginning to measure
 The little brothers had fun running around the baseball field while the big kids worked to put our solar system together.
 Getting final instructions on how to visit all the planets
 Here are some of the kids with the inner planets and sun. Golf balls were used to demonstrate the difference in size between the "Rocky Midgets" (including Earth) and the sun. Actually, Mercury and Mars were only the size of a marble!
 
The tutors (teachers) had cards for each planet that explained distance, size and other details about each planet.
 The kids traveled by class between the planets where the tutors explained the differences between the planets. Here is the first of the "Gas Giants," Jupiter, represented by a soccer ball. The kids also discussed and laid out the number of moons around each planet (using marbles).
  Getting a look at Saturn and it's rings
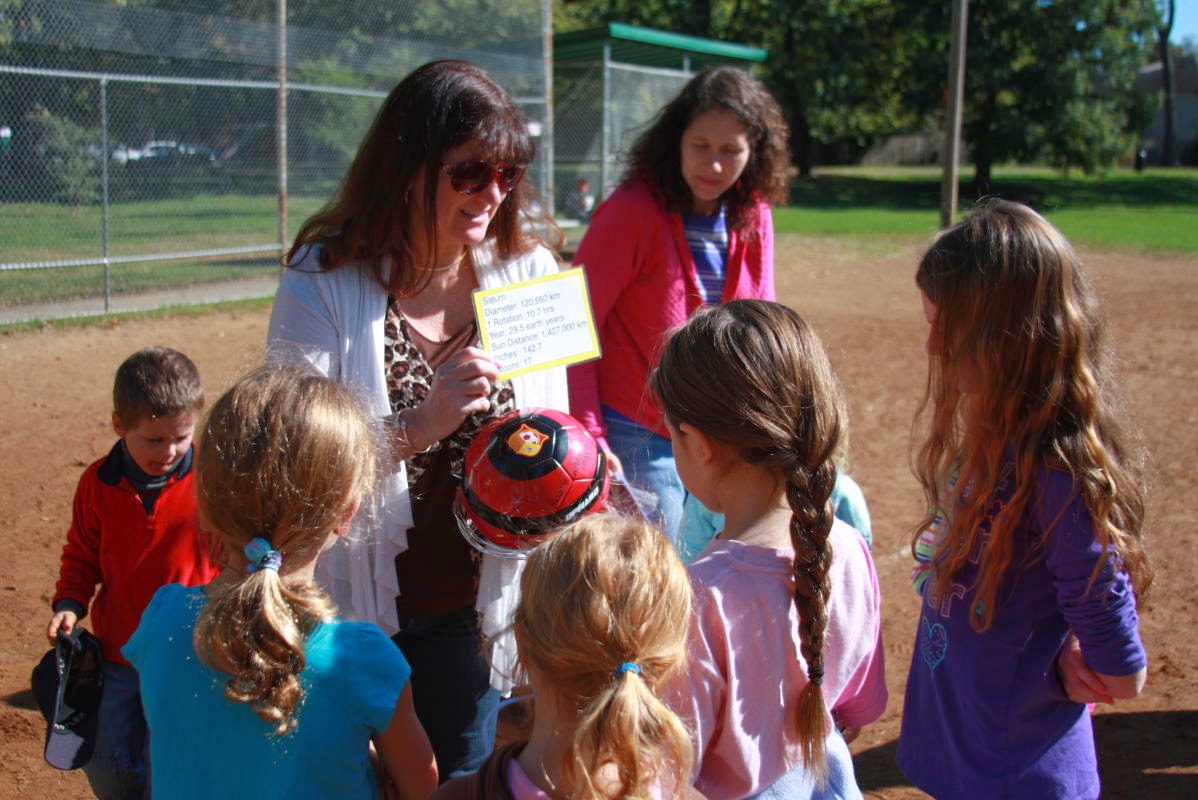
 
 Here the kids are creating the asteroid belt between the inner and outer planets using more marbles
A picture of the first five planets including the completed asteroid belt
 Moving out into the outer reaches of the solar system with a visit to Uranus 
   The entire solar system; Neptune is pretty far out there!
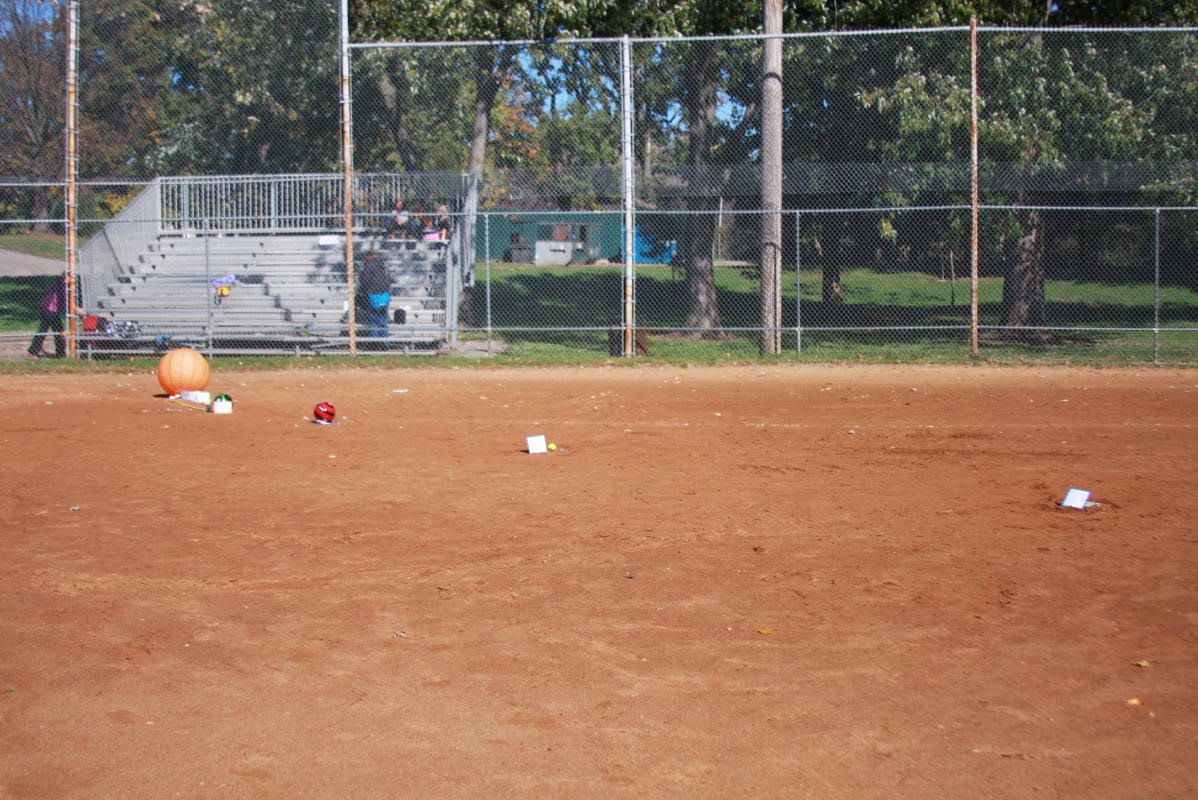
What a great way to explore and understand the size of our solar system! I'm so thankful for Classical Conversations and projects like this that the kids get to do with their classmates and friends!

Solar System Studies - Saturn's Rings - Fall 2013

This science experiment was recommended by Classical Conversations and comes from the book "Janice VanCleave's 201 Awesome, Magical, Bizarre & Incredible Experiments." This is such a great book for experiments and provides great explanations as well to help the kids (and mom and dad) understand what's going on. :)
~
The stated purpose of this experiment was "To determine how Saturn can be seen through its rings." It's relatively simple in that you only need three equal strips of paper with two equally measured lines on each sheet (tip: draw the lines before cutting the piece of cardstock into three strips). You then use a push pin to connect the three pieces to a pencil.
 Next you spin the cardstock and as you can see the rings are visible as well as the object(s) behind the rings.
 Another view, see Missy Reagan's eye?
 Notice that you can see the rings but also still see through them to our map of the world on the wall behind!
The reason this works is because "your eyes blend the color on the paper strips as they spin, producing what appears to be solid rings." The same is true for the rings of Saturn which are made up of many pieces of rock and ice. Pretty cool, huh?
~
One of the best parts of Classical Conversations this fall has been all the additional fabulous Science Experiments the kids have done using the Janice VanCleave book. I didn't redo all of them at home, but they were all great experiments the kids could do to help understand why and how the forces in our solar system work together. I don't know how many science experiment books I have purchased over the years, but this is the one I would recommend hands down to anyone who asked!

Sunday, December 8, 2013

Solar System Studies - Layers of the Earth - Fall 2013

We spent a week learning about the Earth and its layers this Fall. One project we did involved building the earth with different colors of play dough (I used a Kool-Aid play dough recipe because I love the vibrant colors). The girls began creating the earth by making a small inner core.
Next they used orange for the outer core and red for the mantle. Next they rolled out a large but thin layer of blue for the crust.
They finished by using green to create continents
The finished product(s)
After they were done I used a knife to cut open the earth so they could see all the layers. The girls thought this was pretty cool, but I really wish I had had a camera rolling when I did this project with my pre-school class. I modified it a bit by having each of my little guys add a layer of the earth. I cannot tell you how amazed they were when we cut open our combined earth. They thought it was beyond cool and amazing! Here's Missy K checking out her layers.
Grammy gave Jackson a Leap Pad Ultra to help him learn letters and numbers while I'm working with the girls on schoolwork. I was surprised he wasn't interested in the play dough activity, but was glad he was willing to sit at the table and listen while still being involved in an educational activity. Meanwhile Daddy came home while we were working on this and he and Miss McKinley (7 1/2 mos here) enjoyed some snuggle time! :)
Having fun with Daddy while the big girls work :)
Another way we explored the layers of the earth was using hard boiled eggs.
We cut the eggs in half and it was easy to see the core, mantle and crust just like the earth. We also discussed that many things (apples, oranges etc) share this same pattern of a core, large middle center and thin outer crust. We found this basic similarity very interesting!
Jackson enjoying eating his "earth"
During our study of the layers of the earth we also discussed volcanos. One fun activity we did to explore how volcanos erupt used Oreos.
We began by splitting the top cookie of the Oreo, then we slid them together so the middle was squished up like lava as the plates shift/move.
Jackson enjoyed participating in this activity :)
Here is another activity we did to review the layers of the earth. I cut out 4 different size circles and had the girls place them on a sheet of paper (kind of like a puzzle). I had written the layers of the earth on our white board so they could copy them in the correct order. This is Kennedy's finished product.
Exploring the Solar System has provided so many fun activities and ways to explore. I have to say as a homeschool mom I really enjoy these science activities as much or more than anything else we do! Thank you Pinterest and Library for all the fabulous ideas and books! :)

Solar System Studies - Constellations - Fall 2013

During our solar system studies we also learned about stars. The girls especially enjoyed reading about constellations that corresponded to mythology we have read previously with Story of the World. One activity we did was create constellation cards. I looked on line for pictures of constellations and cut them out and placed them on cardstock. 
 Next I used two different size hole punches to create the stars
Finally we turned off the lights and used the flashlight to project the constellations on the wall


 So cool! This was fun for the kids simply because all kids love to play with flashlights add the cards and a great project is born! :)
 For our study on stars I discovered "Cosmic Star" cereal at the grocery store. Since then it has become a household favorite. So cute! :) 
This fall through CC the kids have also learned about five types of stars; giant, dwarf, variable, nova and neutron. We also learned that the sun is a star and some of the different parts of the sun include the core, radiative zone, convective zone, sunspots, photosphere, solar flare and corona. We checked out multiple books from the library (including "The Magic School Bus") and also used our Usborne Science Encyclopedia to learn more about the sun and stars in general.


Solar System Studies - The Moon - Fall 2013

This fall as part of our Solar System studies we spent a week studying the moon and its phases. We checked out numerous books from the library ("The Magic School Bus" series has several great space books if I haven't mentioned that previously) and "The Moon Book" by Gail Gibbons was our favorite.
 We learned that the craters on the moon have been created by asteroids. To explore this a little further we created the moon's surface by layering dirt, flour and finally some coco mix in circle cake pans. Then I gave each of the kids rocks to use as asteroids to crash into their moons and create small craters.
Ready for action!
 
 I love finding activities that Jackson can participate in and enjoy! :)
 Not surprisingly, my kids are pretty good little crater makers! :) 
 I'm sure some people wouldn't favor this activity because of the use of cookies, but I have to say this was an awesome learning tool! You can print out the sheet with the phases of the moon on line and then create the different phases for the kids to match up. This made the phases of the moon super easy to learn, even for Jackson! Grammy was amazed when we were at the beach a couple of weeks after this project and Jackson pointed out the "crescent" moon to her. I used a simplified version of this chart with my BHLC pre-school class and one of the mom's of another 3 year old shared a similar story of her daughter correctly identifying the phase of the moon on her own. So, while this might be a bit of a sugar overload it really makes the phases of the moon click for kids!
 Matching their phases; New Moon, Waxing Crescent, Quarter Moon, Waxing Gibbous, Full Moon, Waning Gibbous, Quarter Moon, Waning Crescent and then the cycle begins again! :)

 Discussing the phases and enjoying the treat after finishing their work
Studying the moon was so much fun! :)